

Next we will make some fabulous fabric flowers using the little rosette posted about here if you don't already know how to make them. Once you get started with them, it's hard to stop finding new ways to embellish them!
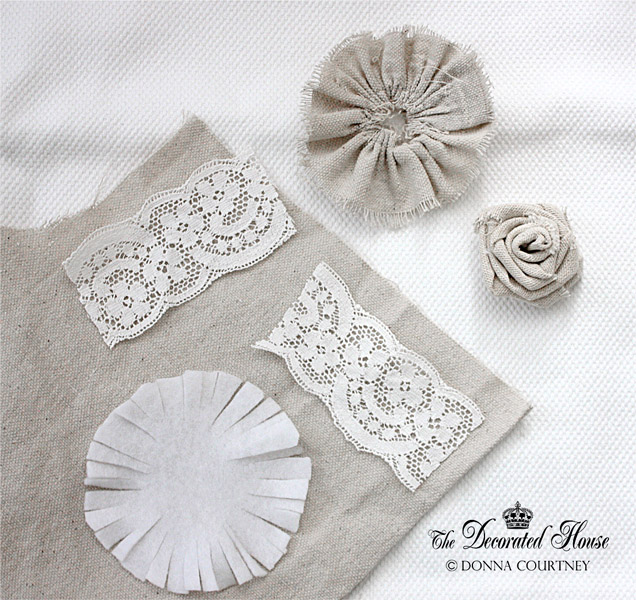
Above you will see the supplies you need. Very simple, very cheap. Cotton fabric, the kind that frays is my favorite for making this style rustic yet elegant look. Pieces of lace, old or new. And your rosette that we already made.
Layer one is a circle of felt and it will go at the very bottom . Cut a circle about the size that you want your finished flower to be. You can use a plate for a template and anything round, and then randomly cut in towards the center from the outside.
Layer one is a circle of felt and it will go at the very bottom . Cut a circle about the size that you want your finished flower to be. You can use a plate for a template and anything round, and then randomly cut in towards the center from the outside.
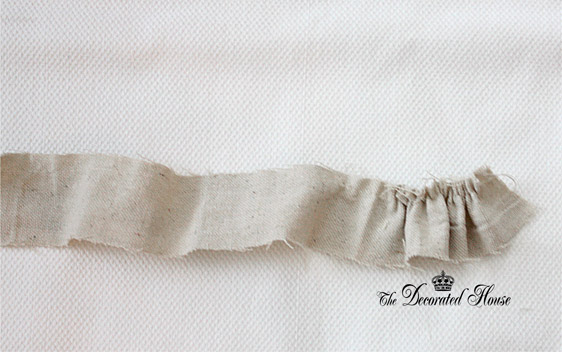
To make the next layer that is a ruffled circle, all you need to do is cut a strip of the cotton fabric about 1 1/2 inches wide for a 3 to 3 1/2 inch flower, and baste it with a loose stitch (you can do this by hand if you don't have a machine) and the pull one of the threads to gather it so you can make a circle.
Bring the ends together of your ruffled strip and glue or sew to make a circle. It should be slightly smaller than the white felt circle and you will be gluing or sewing it on top of the felt circle later.
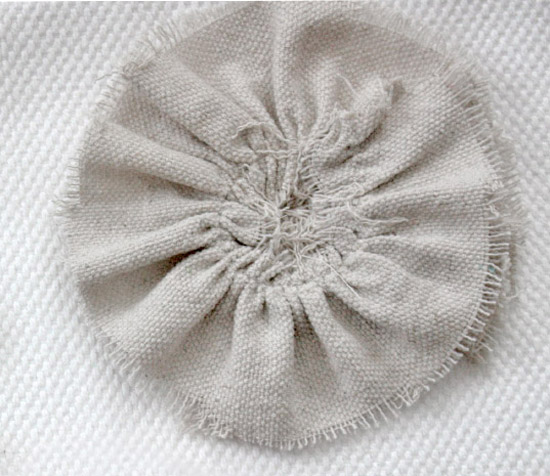
In this case I wanted a bit of a tattered look for the fabric layer, so I pulled at the edges taking some of the horizontal threads out to make frayed edges.
I made two of these as you can see in the next picture.

Bring the ends together of your ruffled strip and glue or sew to make a circle. It should be slightly smaller than the white felt circle and you will be gluing or sewing it on top of the felt circle later.
In this case I wanted a bit of a tattered look for the fabric layer, so I pulled at the edges taking some of the horizontal threads out to make frayed edges.
I made two of these as you can see in the next picture.

Glue or stitch your two tattered fabric layers together at the center. Then take your lace pieces and just stuff them a bit into the centers of your fabrics. Right now the edges of the lace are simply cut straight across. Arrangement how you like, then glue or stitch the lace to the other layers. 
Glue of stitch your fabric and laces layers to the felt layer. If you like, cut some curves on the felt "petals" or leave them straight, both looks pretty.
Also, cut off the sharp edges of the lace making them more rounded and uneven And you can pull a bit on the edges so they do not look like a cut off piece of lace.

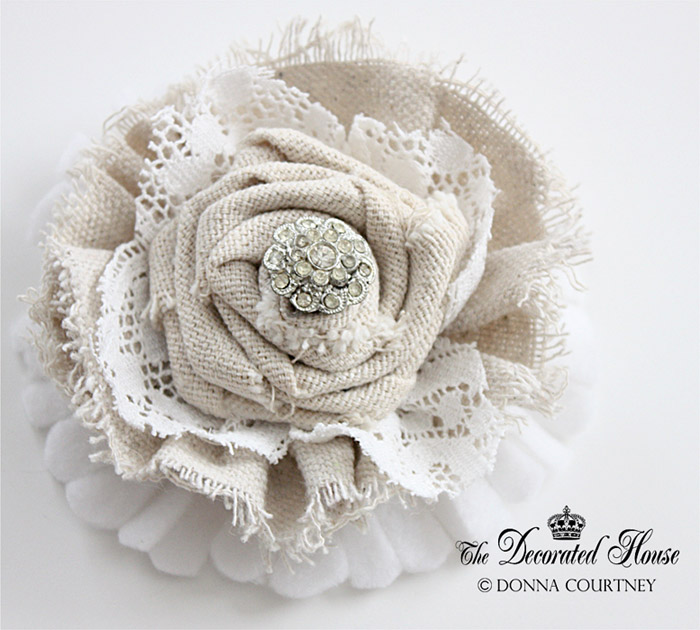
Now you are all done with this style of flower and you can have fun making it a little bit more special. In the one above I added a vintage rhinestone button. You can use an old piece of jewelry or buttons or beading. Again whatever suits your taste and what's in your loot drawers.

One that is a favorite look that could be worn as an adornment to a sweater or jacket, as well as using it on a pillow. This one features a beautiful vintage dark rhinestone pin. So elegant and yet so rustic!

One that is a favorite look that could be worn as an adornment to a sweater or jacket, as well as using it on a pillow. This one features a beautiful vintage dark rhinestone pin. So elegant and yet so rustic!
See Y'All Soon~
Donna- Those are so sweet. I just love them and thanks for doing the tutorial on them! xo Diana
ReplyDeleteI love the look of both. So romantic. Great tutorial. I'll have to make one, one of these days. Although, I could see myself getting a little carried away. lol
ReplyDeleteGreat tutorial Donna! I'll be making some of these for those special places that need a little something extra in my home. You do beautiful work!
ReplyDeleteHugs, sherry
Great tutorial. Thank you
ReplyDeleteDonna, thanks for the tutorial. I have made several satin rosettes for little flower girl dresses but have wanted to make some roses like you have just showed! Thank you so much! Love your blog too Donna.
ReplyDeleteBlessings,
Debbie
Thank you for sharing. Love them and a great tutorial.
ReplyDelete